After many many years and 10’s of thousands of air miles my current camera bag (Lowepro Vertex AW 200) finally went to bag heaven due to death by mouse 😲
It would seem that one of my lovely cats left a live mouse in the room with the bag and it chewed through the straps, something I only noticed about a day before flying off to Kenya!

Luckily some liberally applied Gorilla tape held it together long enough to last till I returned. Obviously not something I wanted to rely on long term when carting my gear around – a potentially expensive disaster waiting to happen. So then began the fun process of trying to find a replacement. I’m sure every photographer wants to find the perfect camera bag (if only to avoid a cupboard full of the damn things) but I’m equally sure they are all still looking 😀

The search is made somewhat harder right now due to the combination of pandemic, supply chain issues and Brexit resulting in rather bare shelves in camera shops. So this meant a lot of google searches and making notes of the different specs and then trying to find real reviews i.e. not those ones from the many ‘influencers’ who spout no end of vacuous bollocks on products from the manufacturer they are currently being sponsored by. (Note: I bought the bag with my own money and Tenba had no knowledge of it or this review (Although if Tenba read this I’d be happy for you to send me the 32l bag to review 😀).
Everyone has different needs for their bag and I’m no different. I need one that:
- Can hold a pro camera body. Most of these are 16-17cm tall so the bag needs to be quite deep which seems to eliminate most of them. I’ve now ordered a Nikon Z9 which is 14.9cm tall
- Big enough for an exotic telephoto/superzoom lens. I’m currently using the Nikon 180-400m f4 with built in Tele Converter but am considering the new 400mm f2.8 with built in TC (may have to sell a Kidney first though).
- Fit in most international flight overhead bins.
- Be as light as possible (mainly because of the weight restrictions that come with point 3)
- Fit at least a 13″ laptop
- Must be well built and tough
- Ideally lots of little places to store extras like cables, batteries, cards and my Kindle
- Side pocket for a water bottle
- Look good and make me look like a Pro 😂
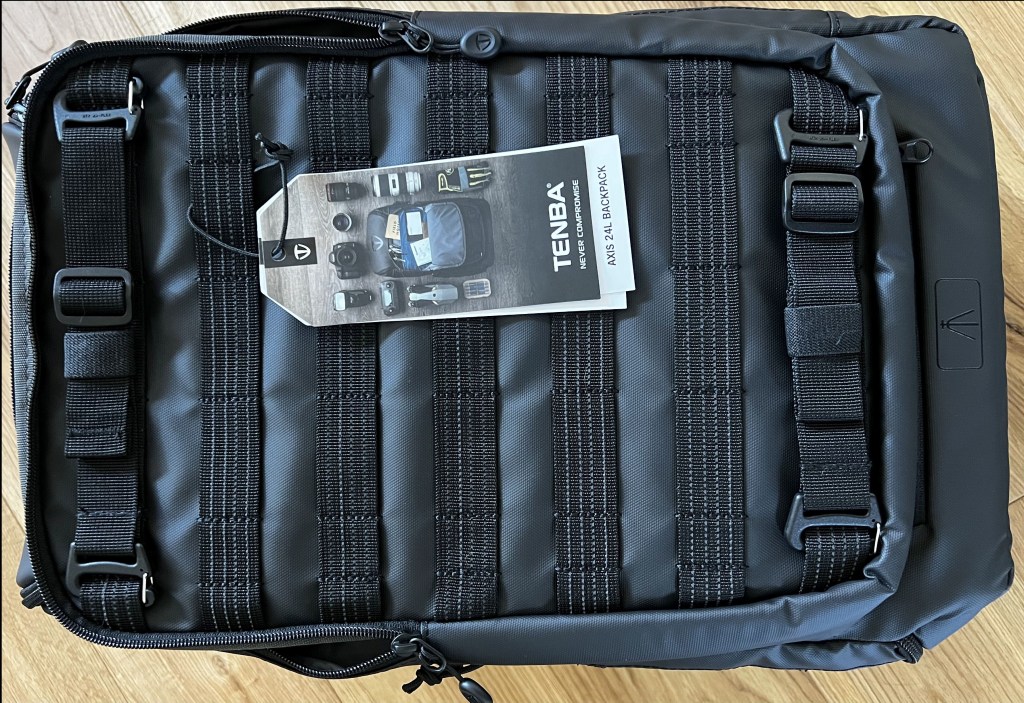
Some of the bags seem a bit odd with their dimensions in that they seemed much smaller inside than others of the equivalent external size (and don’t get me started on bags using litres for sizing which seems to bear absolutely no relation to actual measurements). A lot of sites just have conflicting info as well so it’s not easy to work out the real life specs. I Came across one brand I’d not heard of before, Tenba, and quite liked the look of the bags. They were deep and relatively lightweight and small for their internal size. The 24L and 32L looked like good candidates and both had an internal depth of 17cm but only the 32L description mentioned pro bodies (note I missed this subtle difference and it is an small issue). In the end I took a risk and ordered the 24L, which of course was out of stock everywhere and I ended up waiting about 4 months for it to turn up.
The Review (finally)

The bag is well made and feels strong, it came with loads of internal separators and it looks quite roomy inside. It also has multiple access points – top, side and back. There are straps on the front for tripod attachment and the associated holder at the base hidden in a zipped pocket and you also get a separate rain cover for the bag. You can only attach a tripod to the front of the bag, there are no side attachments but that’s fine with me as I prefer the tripod on the front as it keeps the bag balanced (although it can be a pain if you then want to access your gear via the back panel while it’s still attached). There is a huge side pocket that will just about take a 1 litre insulated water bottle or, more easily, a 750ml or 500ml one. Apparently you can attach all sorts of extra bits to the front but that’s not something I’m going to use for now.
I usually use two internal configurations – one for traveling and then I rearrange it for when actually shooting so the side access could prove handy for a 2nd body when on safari in a jeep. I won’t use the top access for a camera but it can be used as an extra storage area for bits and pieces. I will probably use it for cables, charger, kindle and contact lens stuff when travelling as it’s easy to get to when in the overhead locker.
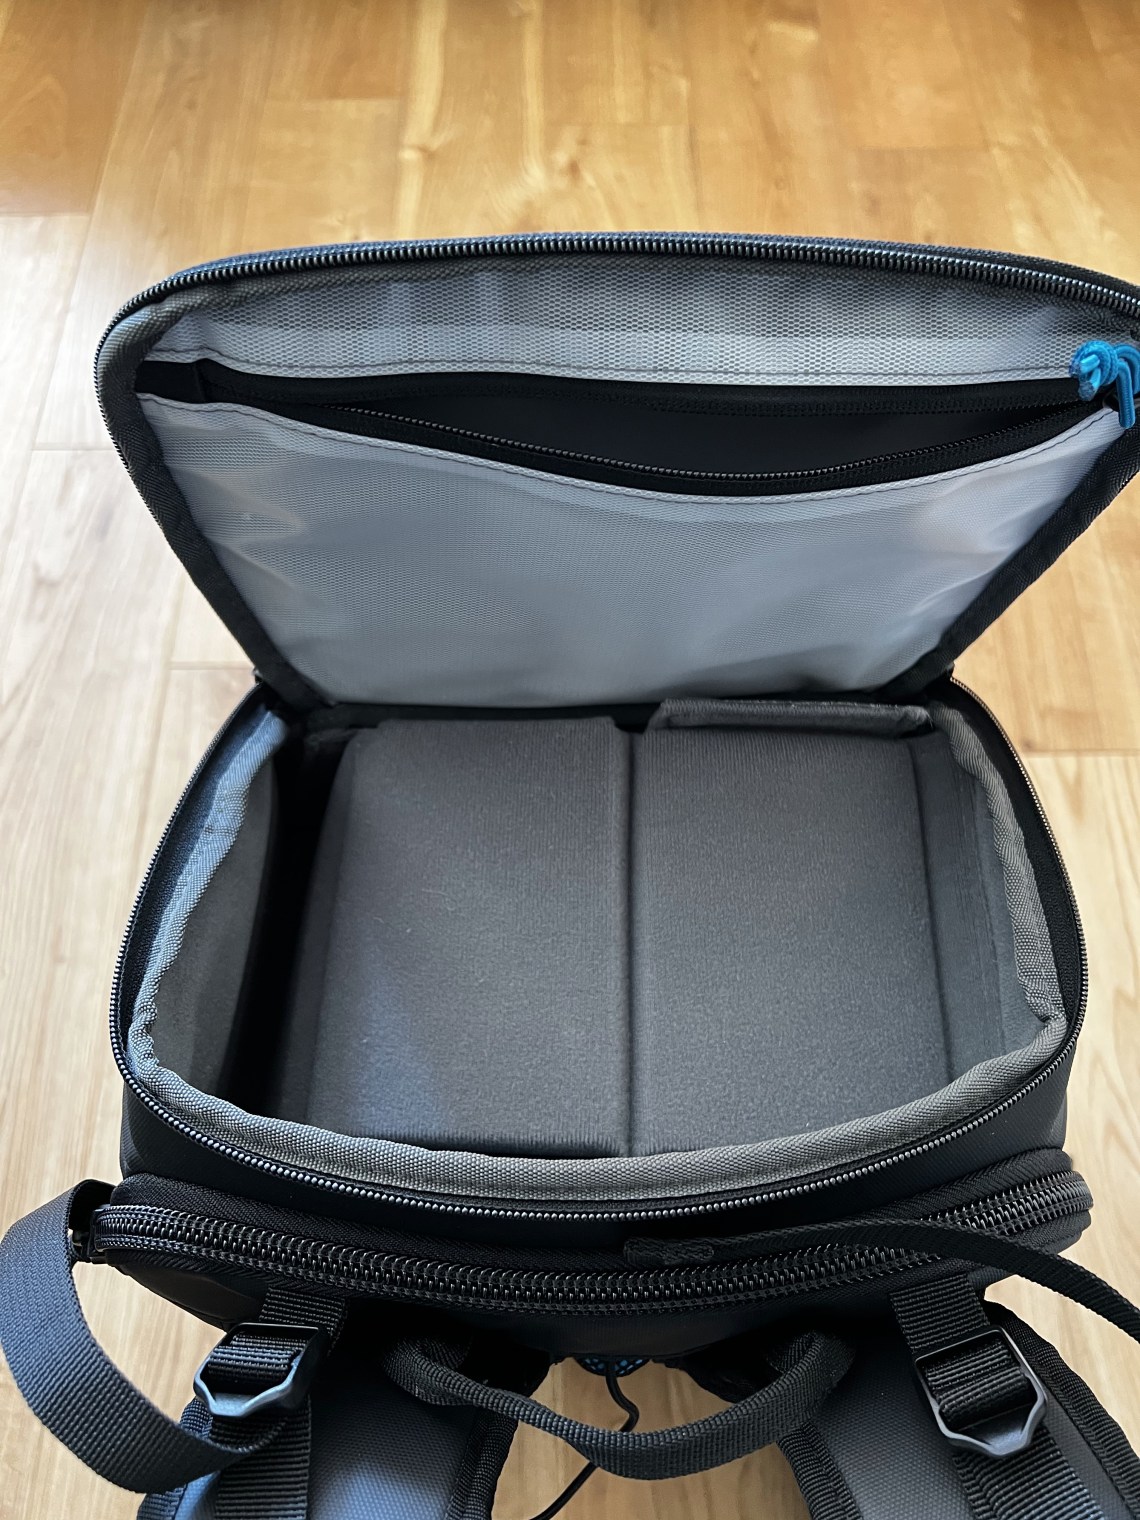
Main access into the bag is via the back panel which also has a laptop storage sleeve built in. Back access is often sold as a security feature and also to stop your straps getting dirty when you lay the bag down. However, Tenba decided to attach the straps to the actual back panel so when you open it the straps are laying in the dirt. This isn’t ideal but I think the reason they did this was so they could implement their adjustable should strap system. It was a choice of either comfort or cleanliness! This also means that when you are carrying the bag the weight is held by the zips. I was a bit concerned by this so got in touch with Tenba and they said it’s been tested with 20kg so is ok and I’ve not seen any mention on the Internet of anyone having issues with it.
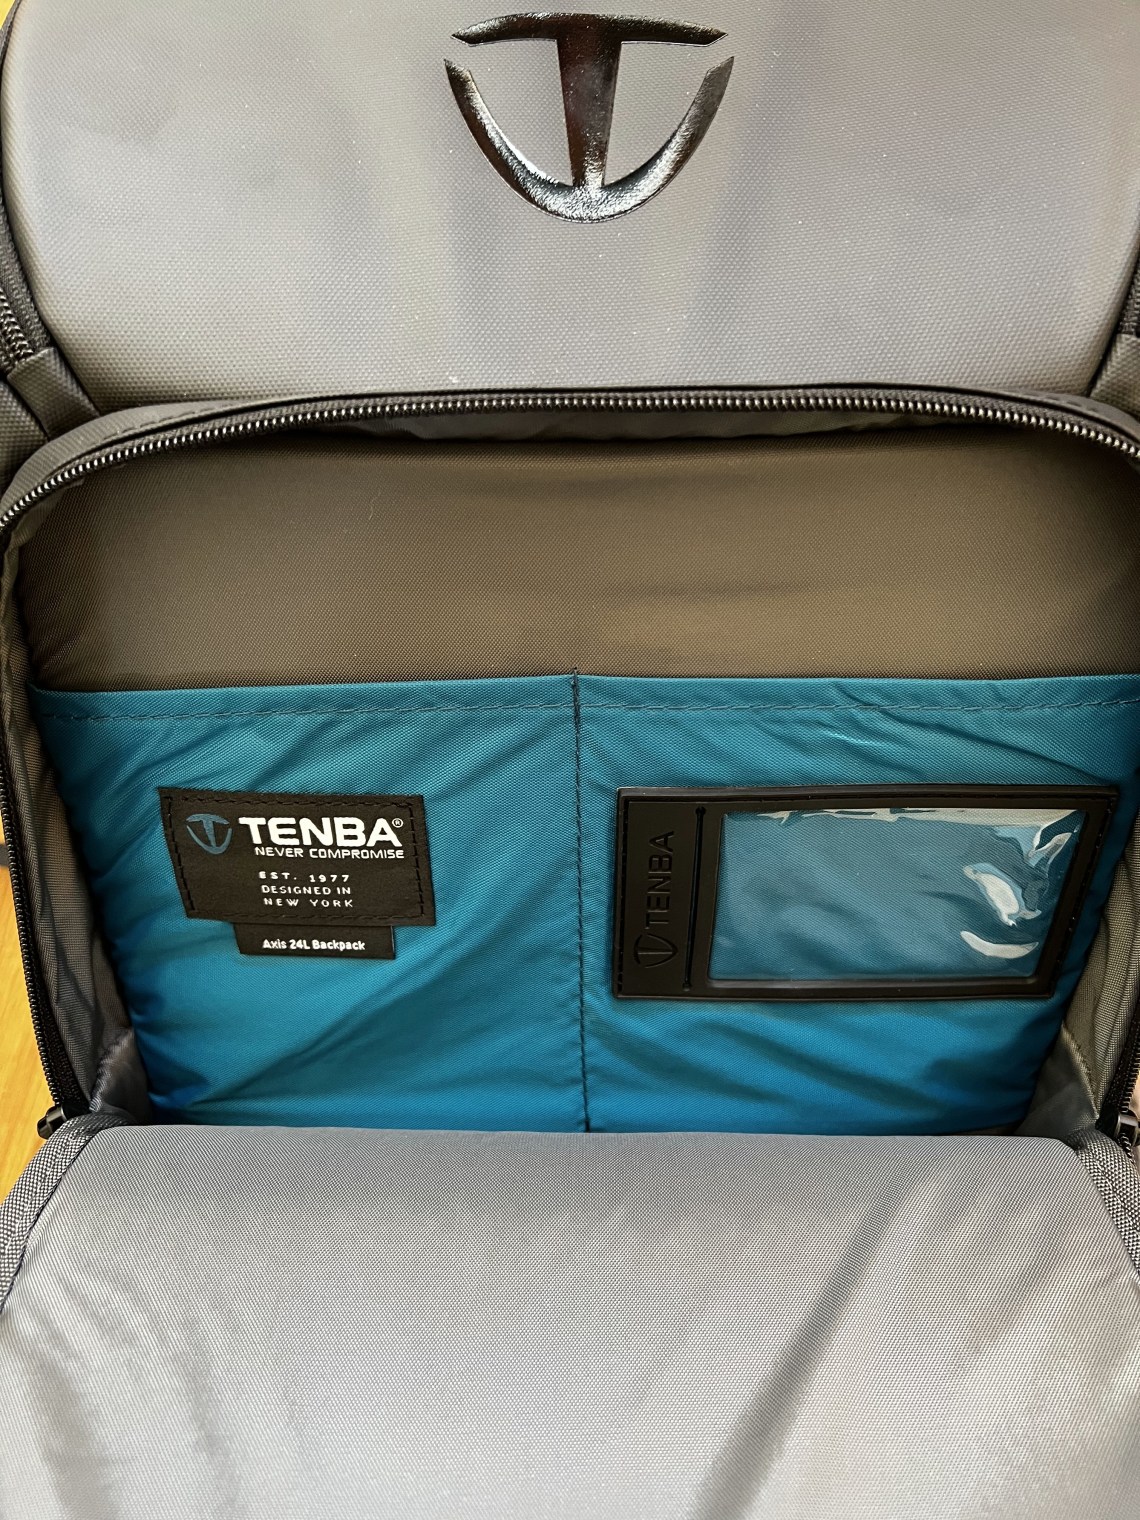
The top access section can be semi closed off using some of the separators and then you can fill it with whatever goodies you want. It also has a clear zipped pocket for things like cables etc.
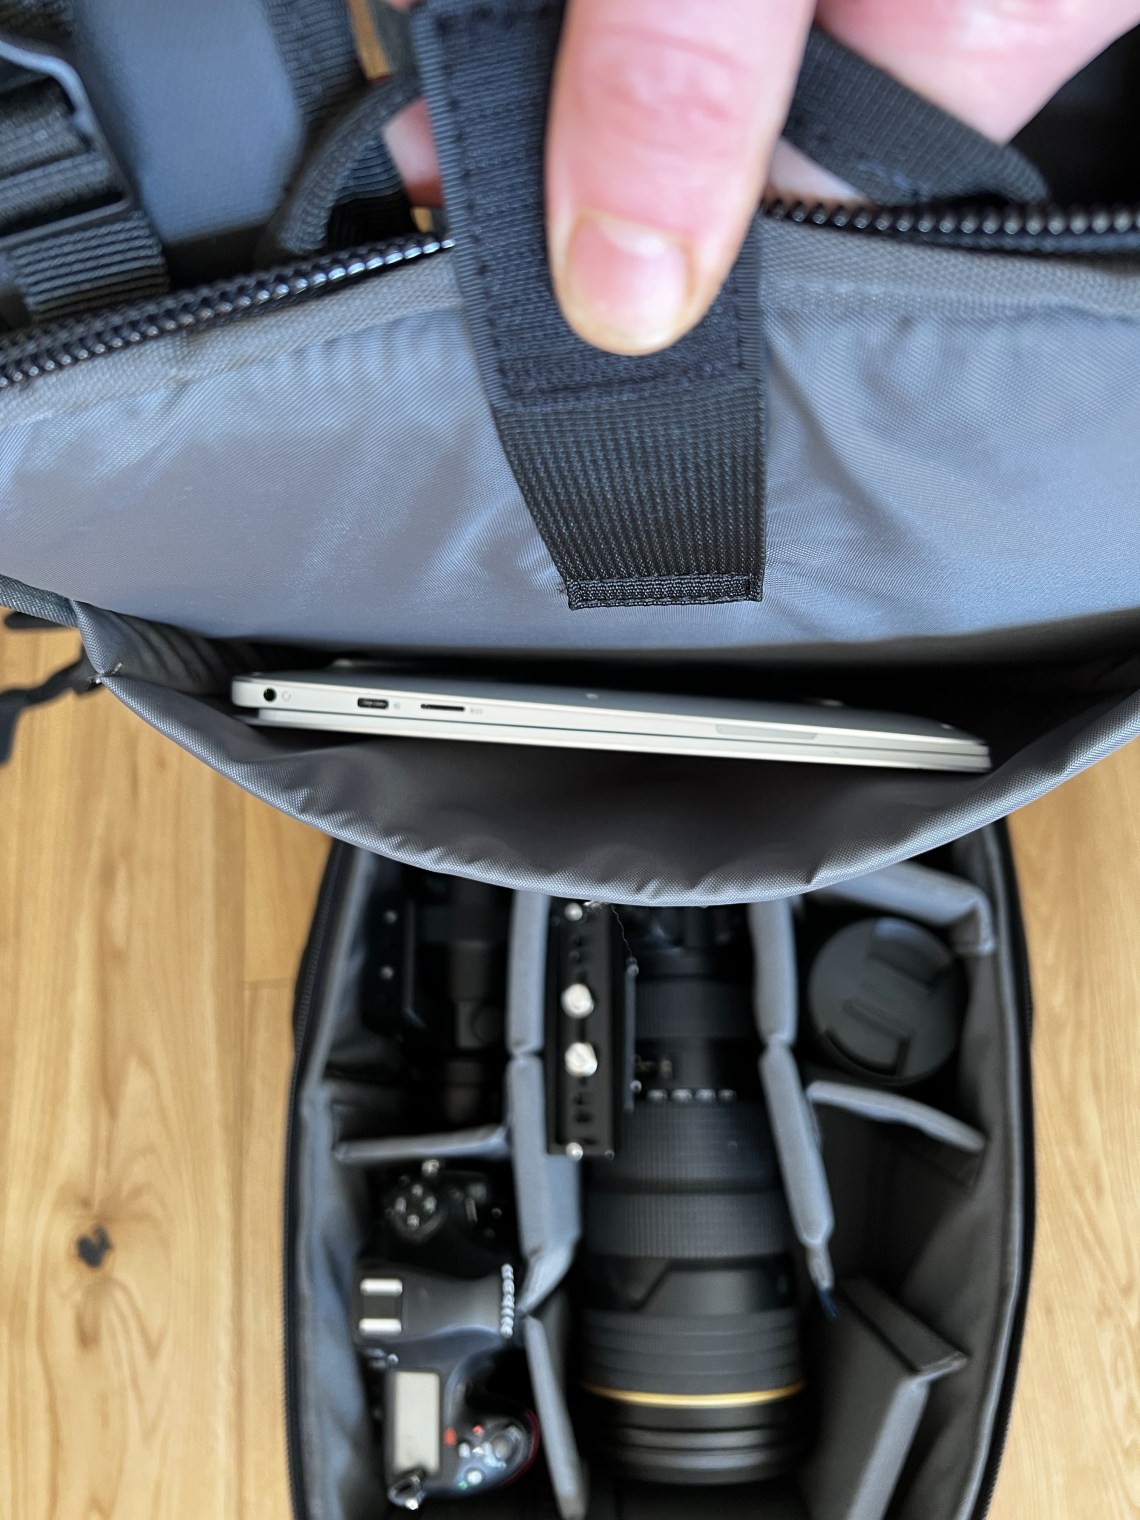
The laptop sleeve is padded and quite big (17cm wide) and can hold up to a 17″ laptop – my 13″ Dell XPS gets lost in there! The front pouch only has two pockets in it so you are limited in what you can store for easy access. It is reasonably big though so you could cram a fair bit of other junk in there, it just might not be so easy to find when you need it.
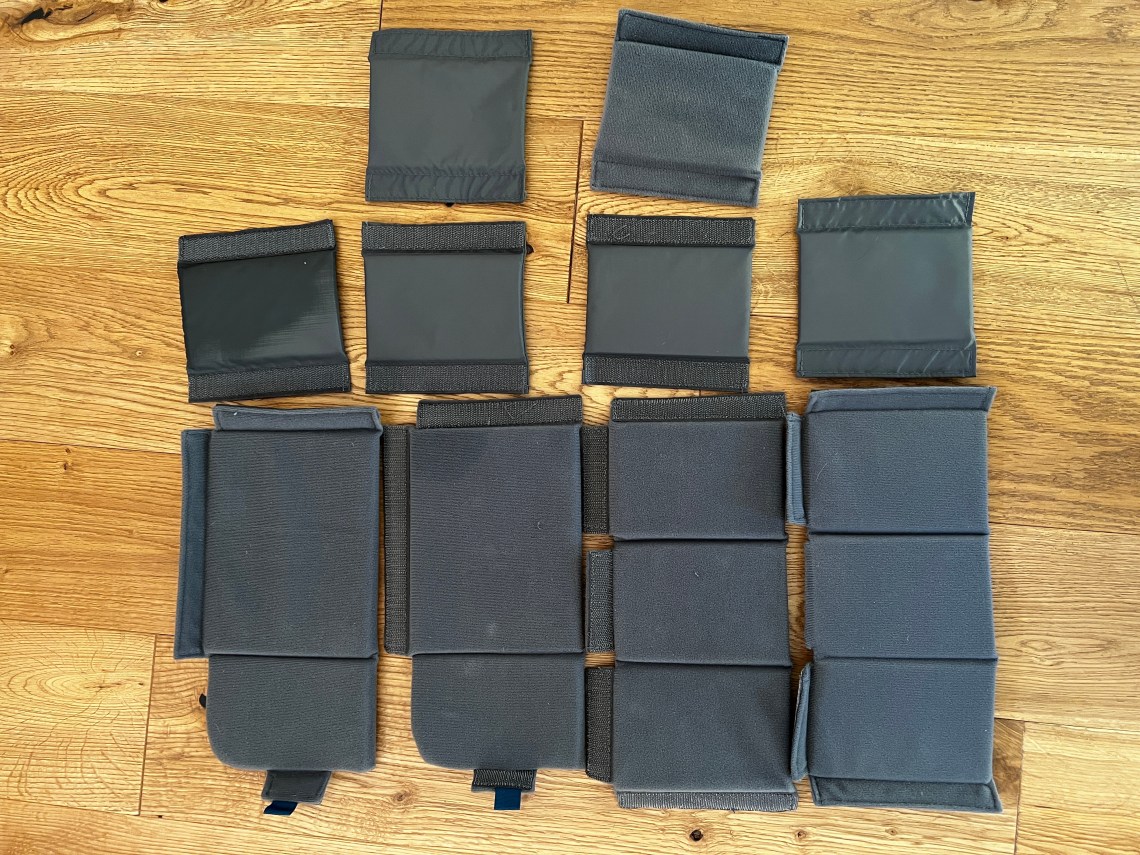
The main internal section can obviously be configured how you want with the 10 different separators supplied. These are a mixture of small thinner ones and some thick solid ones. The bag is padded round the sides but note that the side access opening has limited padding – I will just stick one of the thinner separators there when travelling for extra protection.
As for depth it is advertised as being 17cm but this is a bit of stretch as it only really gets that deep if you pull the back panel upwards to stretch the zips when its closed. Also, and rather critically, the laptop pouch encroaches into the back of the bag by a centimetre or so thus reducing the real depth of the bag. If you have a deep body this means that the top of it will crush into the laptop and likely damage it. I have a Nikon D850 with battery grip which is almost 17cm tall and I can only get that in there upright if I find a spot in the bag where the laptop isn’t resting. Luckily by turning it on its side its only 14.7cm tall so it fits, which is handy as my planned replacement is a Nikon Z9 which is 14.9cm tall.
Empty with just the separators I will be using the bag weighed in at 2025g which is about average and it holds a surprising amount of gear. So far I’ve managed to squeeze the following in:
- Nikon 180-400mm f4 lens (hood will go in my hold luggage)
- Nikon Z 70-200mm f2.8 lens
- Nikon 14-30mm f4 lens
- Nikon D850 body and attached battery grip
- Nikon Z6II body
- Dell XPS 13
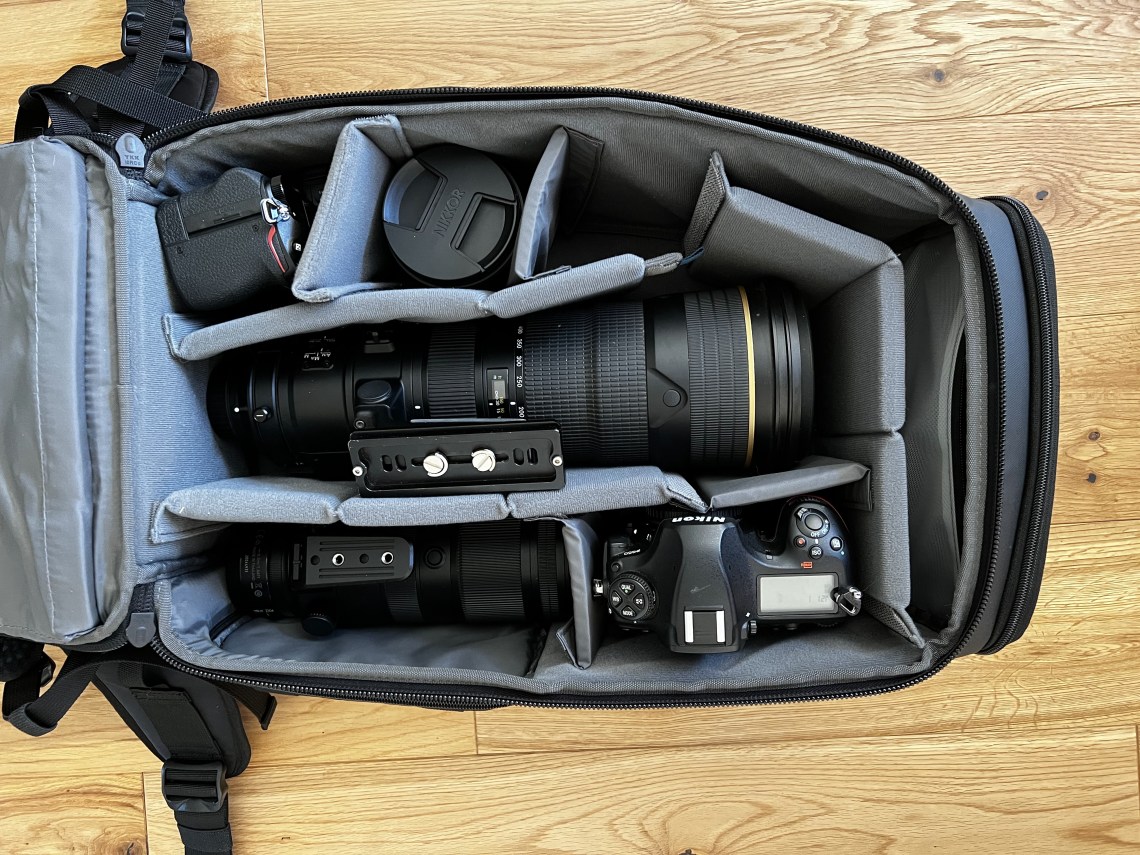
I could probably squeeze another smallish lens in there as well. When my new Z9 finally turns up (one day) that should fit in place of the D850. Total weight came in around the 11Kg mark and the bag didn’t feel uncomfortable when I put it on, although I haven’t walked any real distance with it yet. The straps felt quite comfortable and its easy to adjust, including the actual shoulder strap height which is pretty unique (see one of the Tenba videos on their site for a demo). The waist strap can also be removed completely if you want which is really handy as it gets rid of some extra dangly bits – useful when working in a Jeep with limited space.
The bag is made of a tough hydrophobic material that repels water, and it does just that. However, and this is where we get to my main issue with the bag, the zips are not waterproof at all and let water in really easy. The Tenba FAQ mentions they are light rain proof only but I’m not sure they are even that good. I did some testing in the shower and a lot of water leaked into the bag even with just a very light shower. A heavy shower absolutely soaked it inside. This applies to all the zips and makes the hydrophobic material a bit pointless. I’m going to see if I can improve it a bit by using beeswax on the zips and will update this section next week. Hopefully that will help a bit. Oh, and at least I’ve now found a use for all those little silica gel bags you get with products – they are helping dry out the bag 😂
Conclusion
Overall I’m quite pleased with the bag. I can get all my gear in it and it looks nice and compact and will fit in the majority of overhead airplane lockers. The only real downside is the weatherproofing so I will just have to remember to take the rain cover.
If there’s anything you want to know feel free to ask and I will try and answer for you.

Leave a comment